When we start sewing, we don’t always think about how we will tackle the quilting part of a project, leading to us growing a pile of projects waiting to be quilted “when we are ready”. I started my sewing journey properly in 2012, and it is not so long ago that I can’t remember how daunting the quilting part of any project could be. Here are my Top Tips to get you going.
- Have the Right Equipment.
- Feet – There are two types of machine quilting: with a walking foot or free-motion foot. The free-motion foot could be a darning or ruler foot. As a beginner, it is best to start with a walking foot. The walking foot is necessary as the teeth on the needle plate will not feed the weight of the quilted object evenly. The walking foot adds a second set of teeth (called feed dogs) to the top of the motion. Sometimes a walking foot is referred to as an Even Feed Foot. You should set up the foot as below.

- Stitch – Use a long stitch. Your regular stitch will be between 1.8-2.2, so increase this to 3 to start. Look at your work. If you feel the stitches are too big or too small, adjust the length to suit you. The stitches should look like your standard stitches or slightly more prominent and not pinch the fabric.
- Thread – It is best to use the same thread type in the bobbin as for the top of your machine. I like to use a fine polyester (Isacord or Glide), or I would suggest a 50w/60w cotton. Some threads branded ‘Quilting Thread’ are thicker (40w). To start will I suggest you use a finer thread.
- Feet – There are two types of machine quilting: with a walking foot or free-motion foot. The free-motion foot could be a darning or ruler foot. As a beginner, it is best to start with a walking foot. The walking foot is necessary as the teeth on the needle plate will not feed the weight of the quilted object evenly. The walking foot adds a second set of teeth (called feed dogs) to the top of the motion. Sometimes a walking foot is referred to as an Even Feed Foot. You should set up the foot as below.

- Do Not Start Quilting with a Double Bedspread – Pick a small project when you start. Ahead of tackling that project, using wadding sandwiches (fabric-wadding – fabric) to practise. My wadding sandwiches will be about the size of a fat quarter, and I would suggest that your first actual project should be that size. The project could be a cushion front. As your confidence grows, you can move on to quilting larger projects.
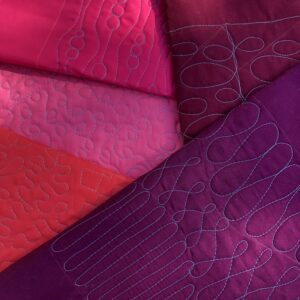
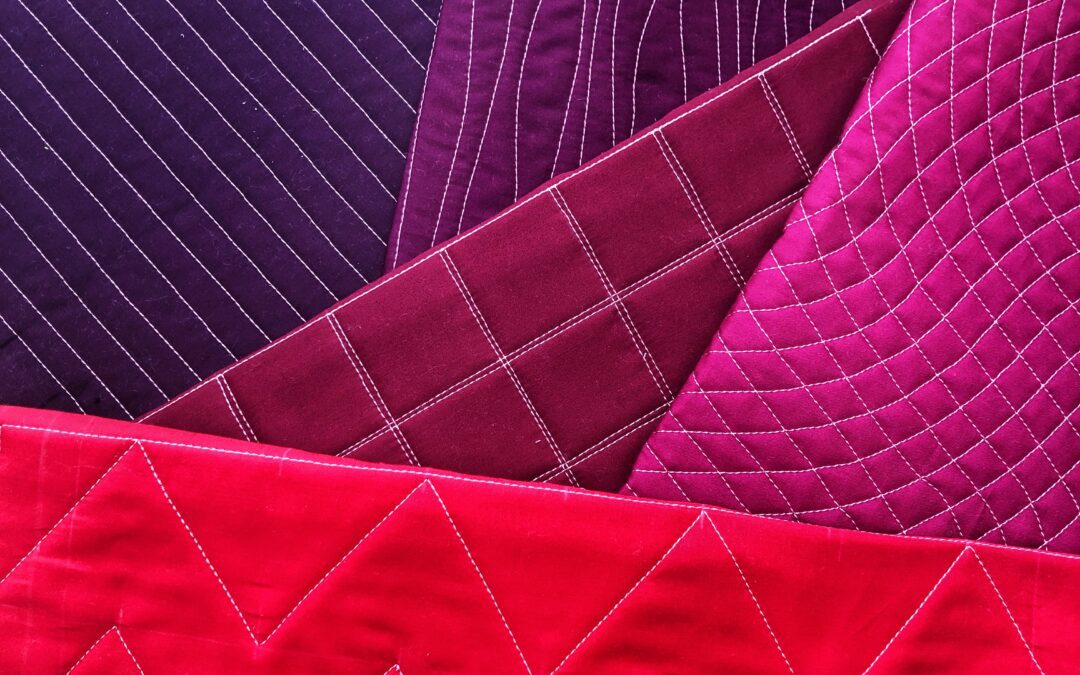
- Practise simple designs – Click here for an earlier blog that describes some easy designs to try. To start your stitching, use the following technique to bring the bottom thread up from the bottom of your work.
Bring the bobbin thread up to the top of your work by holding the top thread, dropping the needle down into the fabric and back up again. Then pull the top thread, and the bobbin thread will appear. Moving the bobbin thread away from your work base stops it from creating a thread nest underneath your work.
- Set up your area for success – Quilting will take up lots of room, and you will need to clear the area around your sewing machine. As you move your project through the sewing machine, you don’t want to be knocking things over. I also find it helpful to sit on a cushion or raise my office chair a little, as I want to look down onto my work more than my eyes skimming across it as I sew.
- Break the job down – Quilting takes concentration. Break down a small quilting job into small steps and break between each part. The break can be as short as standing up and stretching or going for a cup of tea, but it will help to refocus you on the next stage of our masterpiece.
Always be prepared to unpick and redo sections. That is just part of the process. Usually, when I start quilting, the first 10% takes at least 40% of the overall time. Just because the first part of the quilting takes a long time, it is not an indicator that the who project will take forever. You will speed up, and your accuracy will improve with practice.
I have written a complete online course to support beginners start their quilting journey. The course covers walking foot and free motion quilting .You can access this course here.